

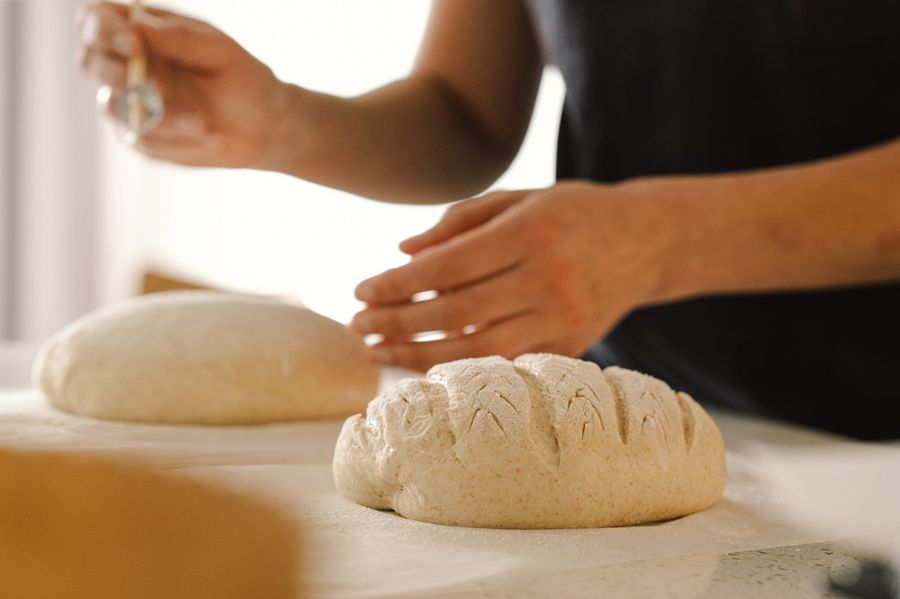
Few things make a kitchen feel as welcoming as the smell of freshly baked bread. There's something incredibly satisfying about turning a handful of simple ingredients into a warm, homemade loaf with a golden crust. While bread baking might seem intimidating at first, you don't need professional equipment or years of experience to get started. With a little patience and a few basic techniques, even complete beginners can enjoy making delicious bread from scratch while developing a fun and rewarding new hobby.
Gather the Basic Ingredients and Equipment
One of the best things about baking bread is that many recipes require only four ingredients:
- flour
- water
- yeast
- salt
All-purpose flour works well for many beginner recipes, while bread flour contains more protein and can help produce a chewier texture. Yeast is responsible for making the dough rise, and both active dry yeast and instant yeast are widely available at grocery stores. Salt adds flavor and helps control fermentation, so it's important even in the simplest recipes.
You probably already own most of the equipment needed to get started. A large mixing bowl, measuring cups, measuring spoons, and a baking sheet or loaf pan are enough for many basic recipes. A kitchen scale is a worthwhile investment because weighing ingredients provides more consistent results than measuring by volume. You might also find a dough scraper useful for handling sticky dough. There's no need to purchase an expensive stand mixer or bread machine immediately. Mixing and kneading dough by hand is an excellent way to learn how bread works.
Start With a Simple Beginner-Friendly Recipe
Bread baking becomes much less intimidating when you choose the right recipe for your first attempt. Rather than starting with complicated sourdough loaves or elaborate braided breads, look for a basic white sandwich loaf or an easy no-knead recipe. Simple yeast breads usually contain just a few ingredients and follow a straightforward process of mixing, rising, shaping, and baking. Some no-knead recipes require longer resting periods, but they involve very little hands-on work.
Read the entire recipe before getting started, paying particular attention to the type of yeast, ingredient measurements, and recommended rising times. Different recipes may require different techniques, so avoid making substitutions during your first few attempts. Choose a day when you have enough time to let the dough rise without rushing. Although much of bread making involves waiting, the actual preparation often takes surprisingly little effort. Once you've successfully baked a basic loaf, you'll have a foundation for trying more interesting recipes and experimenting with different flavors.
Learn How to Mix and Knead Bread Dough
Mixing dough is where the bread-making process really begins. When flour and water combine, proteins in wheat flour start forming gluten, a network that helps dough stretch and trap gases produced by yeast. Kneading develops that structure further, giving many types of bread their characteristic texture. Beginners sometimes worry about getting the process exactly right, but you don't need professional techniques to make a good loaf. Understanding how the dough should feel is more important than following a rigid kneading routine.
Start by mixing your ingredients until they form a rough dough, then follow your recipe's kneading instructions. For traditional kneaded breads, use the heels of your hands to push the dough forward, fold it back, and repeat. The dough will often become smoother and more elastic as you work. If it feels sticky, resist adding large amounts of extra flour immediately, since doing so can produce dry bread. Some recipes intentionally use wetter doughs, while others rely on resting or folding instead of kneading. With practice, you'll learn to recognize the texture each recipe requires.
Understand How Yeast and Rising Times Work
Watching bread dough rise can feel almost magical, but the process is simply the result of yeast fermentation. As yeast consumes available sugars in the dough, it produces carbon dioxide that becomes trapped within the gluten structure. The dough gradually expands, creating the airy texture associated with yeast bread. Temperature plays an important role because yeast generally works more slowly in cool environments and faster in warm conditions. However, excessive heat can damage or kill yeast, preventing the dough from rising properly.
Most beginner yeast bread recipes include an initial rise, followed by shaping and a second rise before baking. Pay attention to the dough's appearance rather than relying entirely on the clock. Many recipes instruct you to let the dough rise until it's roughly doubled in size, although the ideal amount varies by bread type. Avoid placing dough directly against strong heat sources in an attempt to speed things up. A comfortably warm, draft-free location is usually sufficient. Giving dough enough time to develop properly can improve both its texture and flavor.
Master the Basics of Shaping and Baking
Once your dough has completed its initial rise, it's time to shape it for baking. For a basic sandwich loaf, gently flatten the dough, roll it into a compact shape, and place it inside a prepared loaf pan. Round loaves may require folding the dough inward and creating tension across the surface. Shaping helps organize the dough's structure, so it rises more evenly in the oven. It may take a few attempts before your loaves look perfectly uniform, but appearance isn't the most important measure of success.
Preheat your oven thoroughly and follow the recipe's recommended temperature and baking time. Bread typically develops a golden crust as it bakes, while the interior gradually firms up. A kitchen thermometer can help determine whether your loaf is fully baked. Many basic lean or sandwich breads finish around 190°F to 210°F internally, although the appropriate temperature depends on the recipe. Once baked, transfer the loaf to a cooling rack and resist cutting into it immediately. Allowing bread to cool helps the interior structure set and reduces the likelihood of a gummy texture.
Avoid Common Bread Baking Mistakes
Even experienced bakers occasionally produce loaves that are too dense, overly dry, or less attractive than expected. One common beginner mistake is adding too much flour because the dough feels sticky. Excess flour can make the finished bread heavy and dry. Another problem is using expired or improperly stored yeast, which may struggle to produce enough gas for a proper rise. Inaccurate measurements, insufficient kneading when required, and incorrect oven temperatures can also affect the results.
The easiest way to improve is to identify one problem at a time rather than changing everything about your recipe. If your loaf doesn't rise properly, check the yeast and consider whether the dough had enough time to ferment. If the bread is dry, review your measurements and baking time. For consistently uneven results, use a kitchen scale and an oven thermometer to improve accuracy. Keep simple notes about the ingredients, rising conditions, and final texture of each loaf. Remember that homemade bread doesn't have to look bakery-perfect to taste wonderful. Every attempt provides valuable experience.
Enjoy the Simple Pleasure of Homemade Bread
Baking bread at home is a surprisingly approachable hobby that combines creativity, patience, and the satisfaction of making something delicious from scratch. With a few everyday ingredients and basic kitchen tools, you can begin producing fresh loaves without investing in complicated equipment. Learning how dough should feel, understanding the rising process, and practicing simple shaping techniques will help you become more confident with each baking session. Even your early attempts can provide wonderful results, especially when enjoyed warm with a little butter.
As your skills improve, you can experiment with whole wheat flour, herbs, seeds, and different bread styles. You might eventually try homemade dinner rolls, focaccia, pizza dough, or even sourdough bread if you're interested in a new challenge. There's no need to master everything at once or turn baking into a demanding routine. Start with one reliable recipe, practice whenever you feel inspired, and enjoy the process. Few hobbies offer such a satisfying reward for your efforts, and a freshly baked loaf is something you'll be proud to share with family and friends.